From the outside, a renovation looks like a handful of big moments: the walls come down, the kitchen goes in, the painters arrive. In reality it is a long chain of processes, each one depending on the one before. A finish that still looks right in ten years is simply the last link of a chain where nothing was skipped. Understanding that chain is the easiest way to understand why projects take the time they take — and why prices for "the same job" can be so different.
The stages of any renovation
Whether it is a redecoration, a full house refurbishment or an extension, the work follows the same order. Smaller projects skip some stages; none can be done out of order.
| Stage | What happens |
|---|---|
| 1. Survey & design | Measuring, drawings, structural design, finishes chosen, approvals and party wall notices in place. |
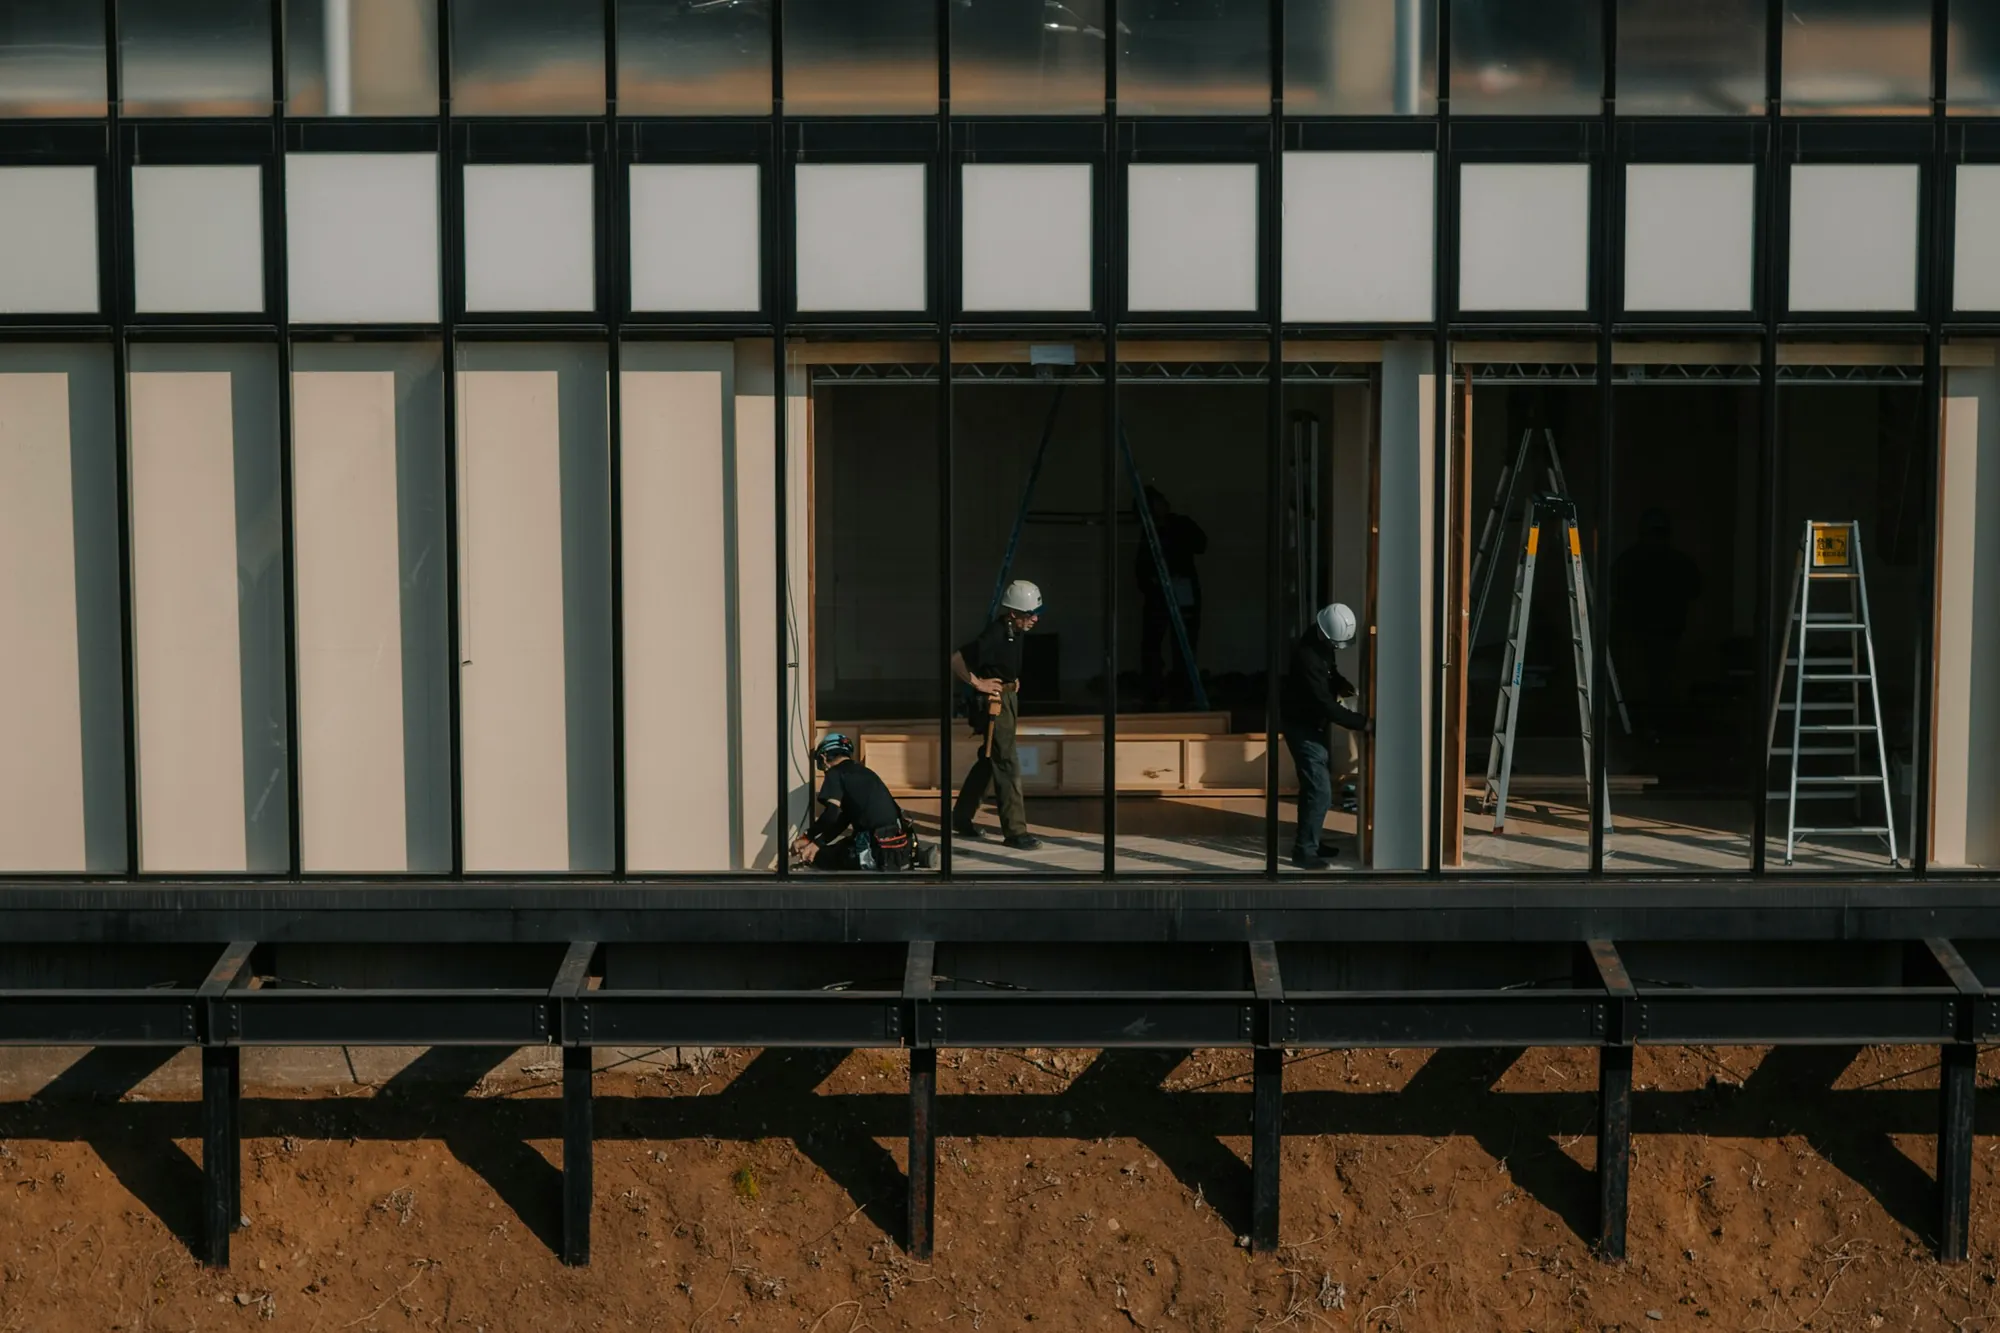
| 2. Protection & strip-out | Floors, stairs and anything staying are protected; old finishes are removed back to a sound surface. |
| 3. Structure | Foundations, steelwork, new walls, floors and roof — everything that holds the house up. |
| 4. First fix | Electrics, plumbing, heating and ventilation run inside walls and floors, then tested before they disappear. |
| 5. Preparation & plaster | Surfaces cleaned, primed and beaded; walls plastered, floors screeded — then left to dry. |
| 6. Second fix | Kitchens, bathrooms, sockets, lighting, radiators, doors and joinery fitted. |
| 7. Finishes | Tiling, flooring and decoration — the part everyone sees. |
| 8. Testing & handover | Systems commissioned, certificates issued, snagging completed, a deep clean and a walkthrough. |
Inside every stage: the same six steps
Zoom in on any single task — plastering a wall, tiling a floor, painting a ceiling — and the same pattern repeats:
- Protect what is around the work.
- Prepare the surface: strip, repair, clean, remove dust.
- Prime or seal it, so the next layer bonds properly.
- Do the work with the right material for that place — wet areas, timber, masonry and plaster all need different products.
- Let it cure — plaster, screed, adhesives and paint all need drying time before the next layer goes on.
- Check it: level, pressure test, moisture reading — before it is covered by the next trade.
Steps 1, 2, 3, 5 and 6 are invisible on handover day. They are also where most of the time goes, and where shortcuts are easiest to take.
Why the order matters
- Each trade builds on the last. A tiler can only be as good as the wall and floor underneath; a decorator only as good as the plaster.
- Drying time can't be rushed. Tiles fixed to wet render, or flooring laid on damp screed, trap moisture that comes back as cracks, lifting and mould.
- Hidden work must be checked before it's hidden. A leak found after tiling means taking the tiles off.
- Doing things once is cheaper. Wiring, plumbing and heating done together, before plastering, avoid opening walls twice.
A few examples
- Plastering: old lining paper and loose plaster are stripped, the wall cleaned and primed, then plastered. Plastered straight over old paper, the wall looks the same on day one — and cracks and bubbles within a year or two.
- Bathrooms: wet-area walls built with cement-based materials, floors stabilised and fitted with an uncoupling membrane on timber or levelled on concrete, everything tanked and allowed to cure before a single tile goes on.
- Floors: a new floor finish is only as flat and quiet as the boards or screed beneath it.
- Decoration: a mist coat on new plaster, filling and sanding, then two finish coats — not one thick coat on dusty walls.
What this means for your quote
Every one of these steps takes time and materials, so every one has a cost. A quote that includes them all will be higher than one that prices only the visible finish — and it will usually be cheaper over the life of the home. When comparing quotes, ask each contractor how they will prepare each surface, which materials they will use in wet areas, how long they allow for drying, and what is tested before it is covered. A line-by-line quote answers these questions on paper.
How we work
Our quotes are itemised by stage, with preparation, materials, drying time and testing written in, and you receive photo updates as each stage is completed and checked. See our process, or send us a quote you already have and we'll review it free of charge. Related guides: why quotes come in above budget and how to choose a builder.
Frequently asked questions
What order should renovation work be done in?
Survey and design, protection and strip-out, structure, first fix (electrics, plumbing, heating), preparation and plastering, second fix, finishes such as tiling, flooring and decoration, then testing and handover.
Why are renovation quotes so different for the same job?
Often because they describe different work. A complete quote includes preparation, priming, drying time and testing at every stage; a cheaper one may price only the visible finish or leave items as exclusions.
Why can't drying times be shortened?
Plaster, screed, render and adhesives hold water. Covering them too early traps moisture, which later causes cracks, lifting floors, loose tiles and mould.
Want a price for your project?
Use our calculator for an instant range, or book a free survey for a fixed, itemised quote.